
kate spade wannabe
I love Kate Spade. And all her stuff. All stripey and polka dotty, exuding class and sophistication. I’m pretty sure she’s a lot like me. Maybe. Or not. A girl can dream, can’t she? But I really did want one of her planners this year. One that looks like it has lots of shopping dates and girls’ lunches in it. This large black stripe one actually. But the thing is…well…it’s shockingly expensive. And anyways, I’ve always used this planner because the inside layout matches the way my brain works. Which is pretty helpful in a planner, wouldn’t you say. But it’s QUITE unattractive. So what’s a crafty girl to do?
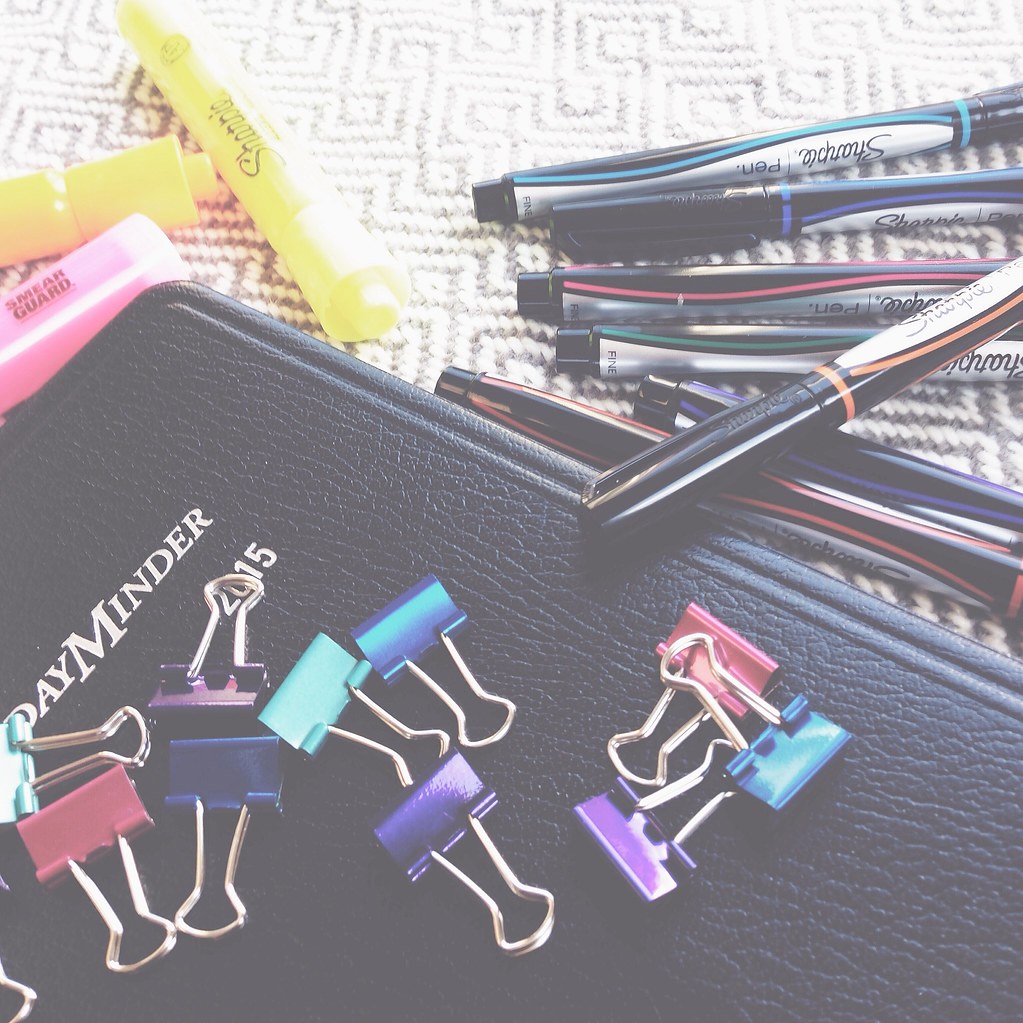
supplies for organizing a new year
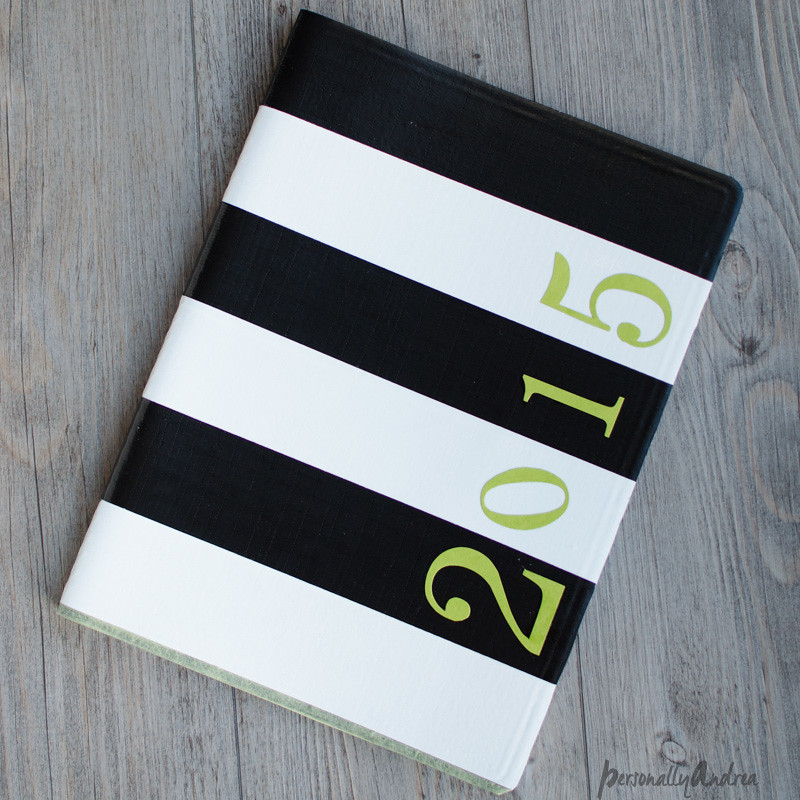
Well if I can’t be Kate Spade, or even be like Kate Spade, at least I can be inspired by her stuff. So…welcome to my Kate Spade inspired planner. And maybe you can Kate Spade-ify your planner too. A few humble big-box store supplies are all that you need. Planner or agenda, duck tape, scissors, die cut numbers and rubber cement.
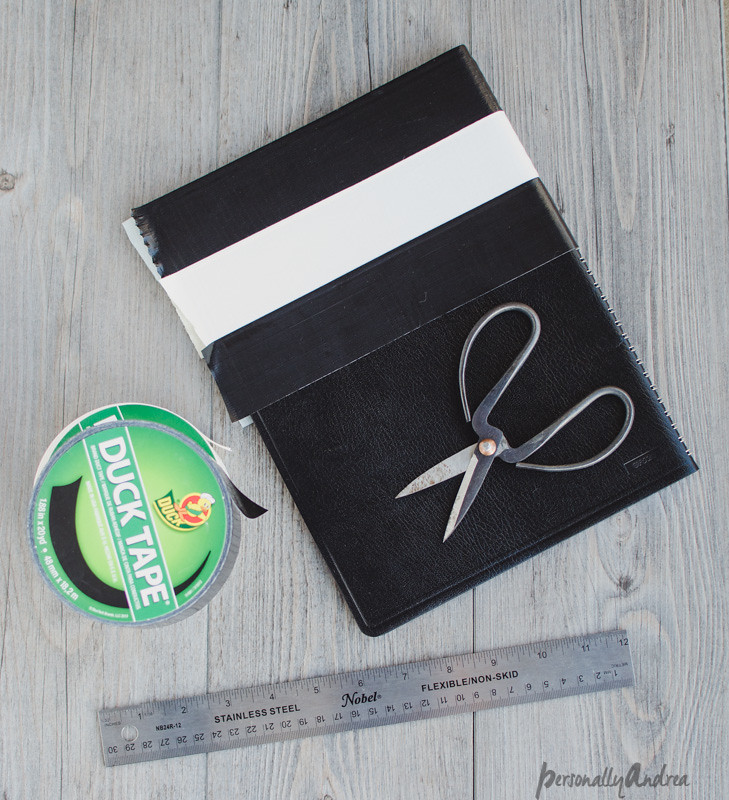
getting started
So just a word about choosing your duck tape. If you use the patterned kind, it’s a bit tricky to match up the pattern as you’re going along, and takes quite a bit of pre-planning and cutting and sorting or tape pieces. I did it in this project for duck-taping the covers of mini composition books. And if your planner is pretty small then definitely go for it. For mine I stuck with the solids (stuck…see what I did there? haha…) to make a graphic Kate Spade style striped pattern.
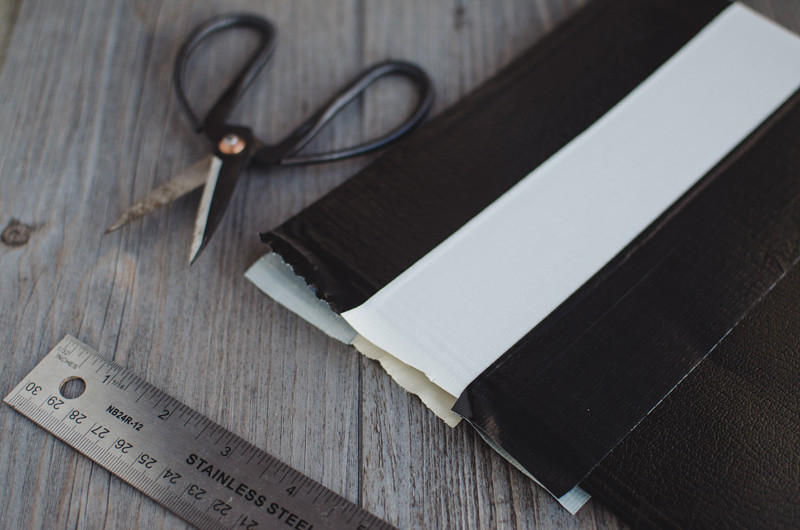
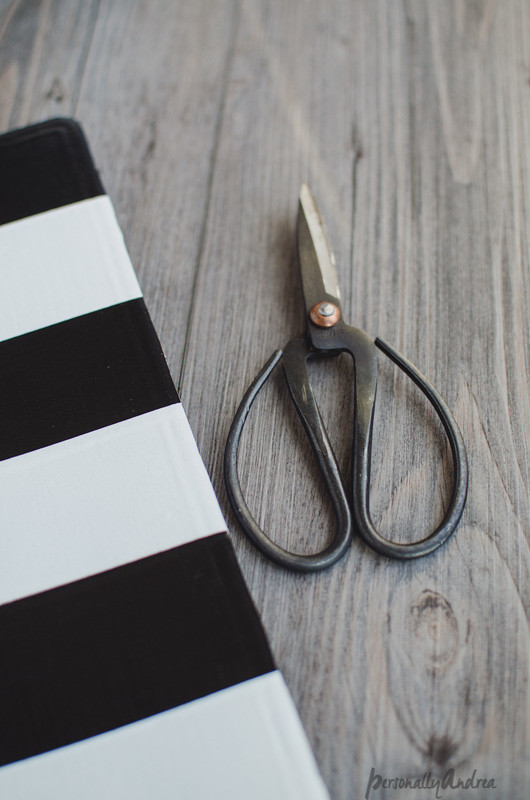
scissor skills
So I just started at the top, lining up the edge of the tape to the top of the cover but not worrying about the edges just yet. I kept the cover closed to make sure it would still close properly with the tape stuck on it, you know what I mean? Stick it down really well, and then go on to the next row of tape, either matching it to the edge of the previous row or overlapping it slightly so that your pattern works out to cover the surface completely. In spite of my expert math calculations and use of a ruler…help me please!… I ended up with a tiny strip at the bottom without tape, so I used a strip of coordinating washi tape to finish off the bottom edge. When it’s all taped, take a pair of scissors and carefully trim around the edges. Alternately, you could overlap the tape over the edges and wrap it around to the inside. I showed how to do that with the mini composition books too.
kate spade-style life * here I come
Then I took some die cut numbers and adhered them with rubber cement. It’s noxious stuff…open a window…but perfect for permanently adhering paper. And that’s it. What do you think?
before & after planner makeover
I think I’ll write in a few shopping dates and girls’ lunches to get me started. Wanna join me? I’ll pencil you in. We’ll pretend we’re Kate Spade. Even if not, I’m looking forward to spending a new year here on the blog with you, with lots of inspiration in food, home, handmade stuff and photography.
Also... how I continued my Kate Spade office inspiration and hacked my IKEA desk with gold details and black and white stripe drawer interiors.
Also... how I continued my Kate Spade office inspiration and hacked my IKEA desk with gold details and black and white stripe drawer interiors.
Thanks for hanging out here with me.

Sharing is lovely...

