Oh business cards. There are probably way too many of them in the world, right? Even in my own small career there were first the Real business cards, then some for the card-making business, the gift business, and the photography business of course. And how many of all of those have I given out? Well, some, but there’s still a whole lot of them left over!
I’m in business
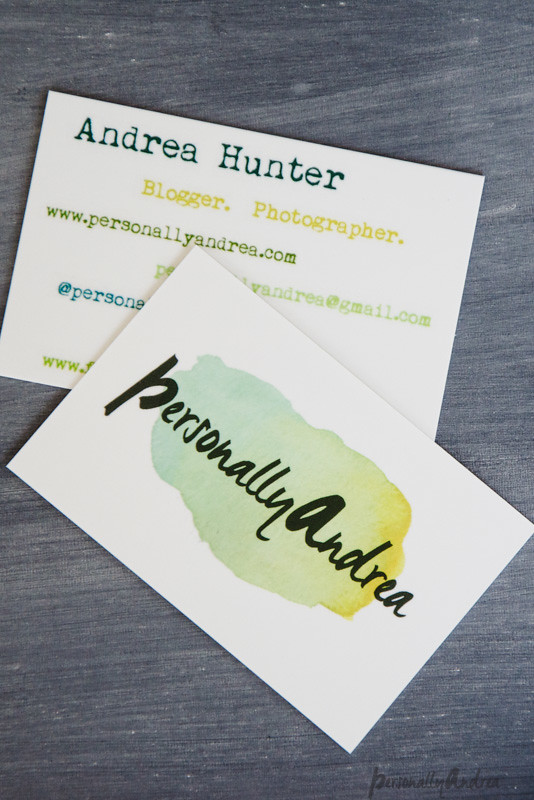
All that to say, of course now I need some more. For my blogging business, right? And it seemed that for a creative business I should really be doing something hand-made, but realistically it wasn’t happening. So after hearing some great recommendations and checking out their website, I decided to go with MOO for some custom-designed cards. The designing and ordering of cards on the website was easy enough to navigate, even for a technophobe like me. There were plenty of options for getting help along the way if I needed it. And then the turnaround time was really quick.
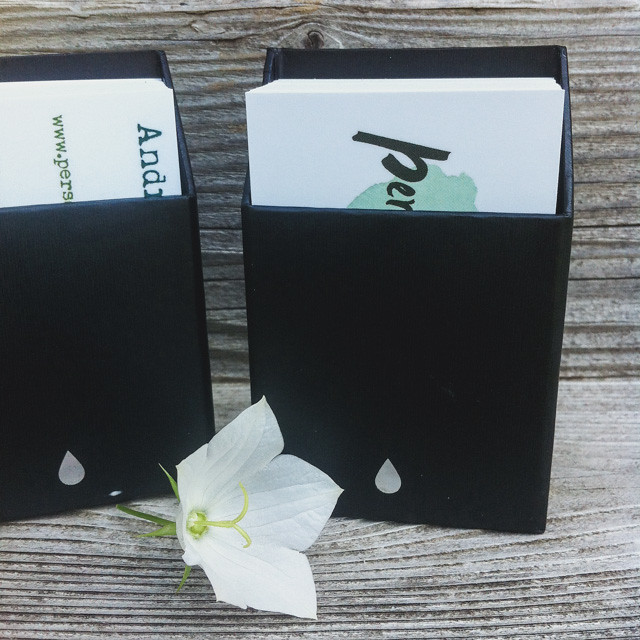
amazing packaging * love
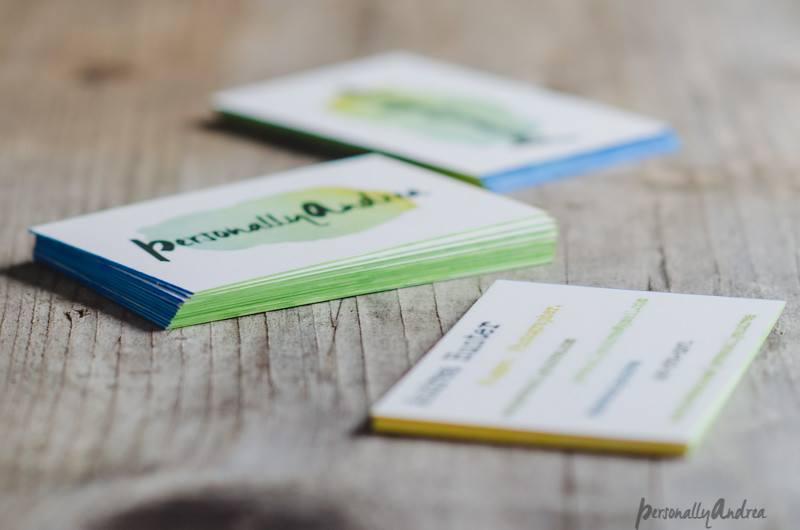
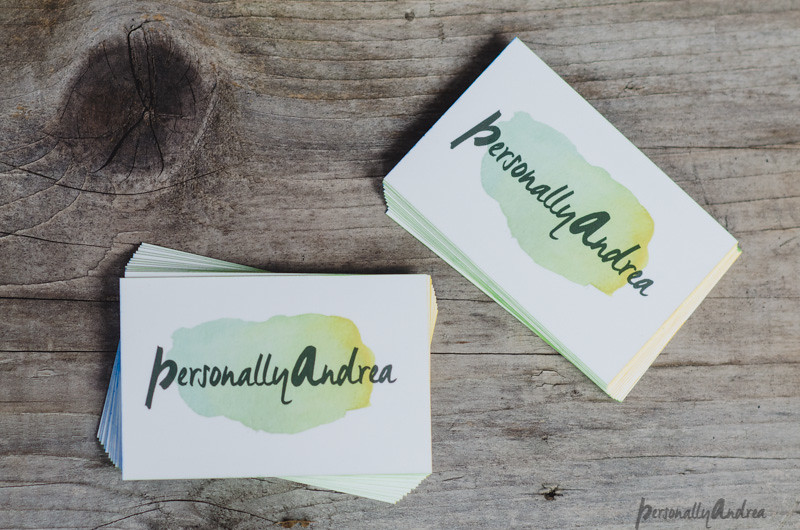
The quality of the cards is awesome. Really sturdy and just slightly larger than a typical card from a business supplies store. Ask me for one when you see me! But now for adding a handmade and personalized look. Because the cards are quite thick, I was inspired to ink the edges with the same colours that are in my logo.
this is what I imagined in my head
I like inking the edges of cardstock for a handmade greeting card…I love how the colour seeps into the paper and gives a framed look to the whole card. You can just press the edges of the cardstock into an ink-pad. It looks really cool. I tried it with just one of the business cards but one type of ink seeped too much and wasn’t permanent on the slightly plastic-y card surface. Another type of ink was too faint and didn’t even add colour to the edge.
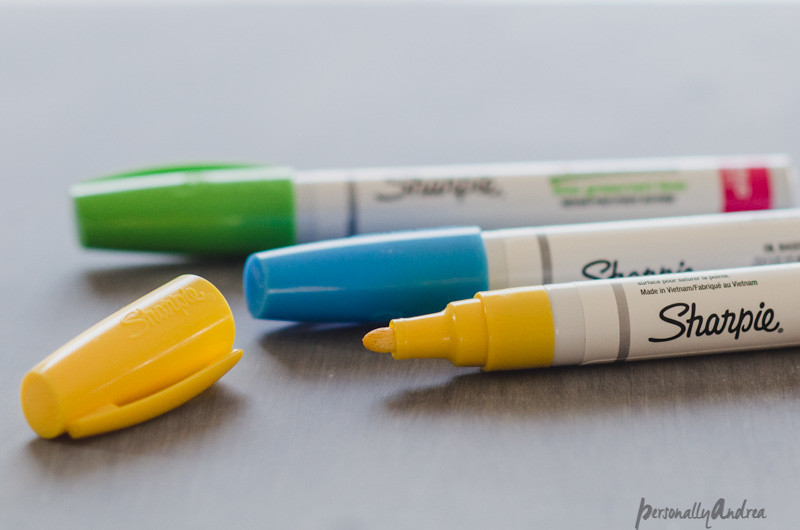
Plan B * Sharpies
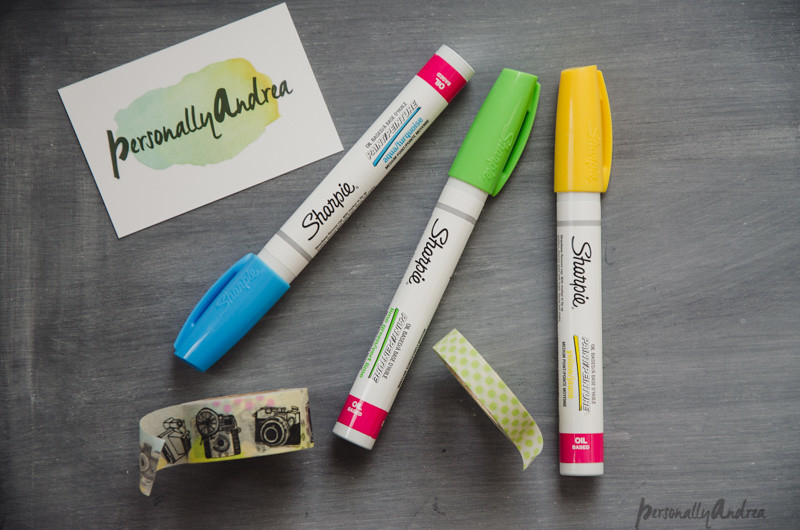
I love Sharpies and I use them a lot. I have them in a multitude of colours and thicknesses. They’re great for labelling and creating in lots of different ways. These are the Paint Sharpies, so they’re exactly like paint except in marker form. Perfect for edging the cards with permanent results and a really bold colour. I found three colours that matched my logo…yes I needed to buy more Sharpies…and started colouring.
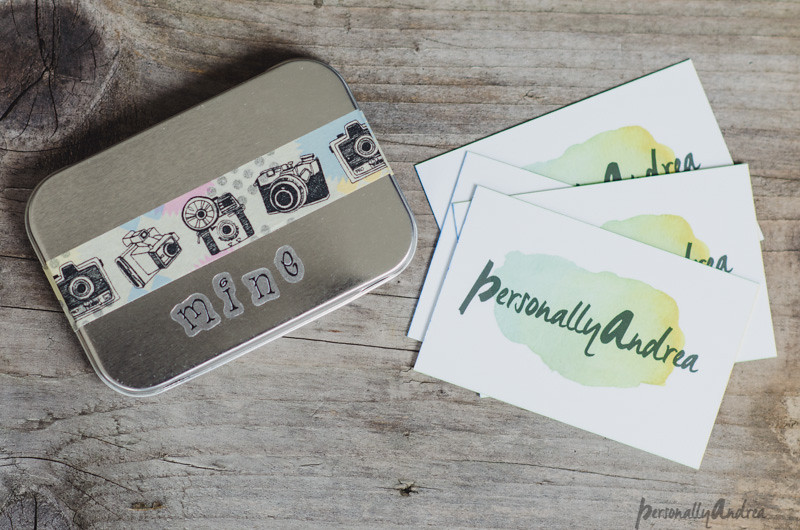
that vintage camera washi tape!
So Plan B part 1 had been to colour one edge at a time with a reasonable stack of cards, just colour the whole block at once. It worked with the yellow so that got done quickly, but the other two colours were a fail. It made a big hot mess and I wrecked a small stack of my cards. Sigh. Plan B part 2 was to colour each. edge. individually. It did only take a quick swipe of colour to do. But still. Cards and sharpies sat on my desk for several days and I would do a bunch at a time with one colour, leave them to dry, then do another colour. Sometimes you get an idea in your head and you just need to see it through. Right??? Please say I’m right!
and they’re done
Fortunately I didn’t really need that many. I mean how many business cards do you hand out at one time? And I was making them on a deadline. To take to BlogPodium ...the big blogger conference that happened at the Royal York in Toronto a couple of weekends ago and which, by the way, was amazing!
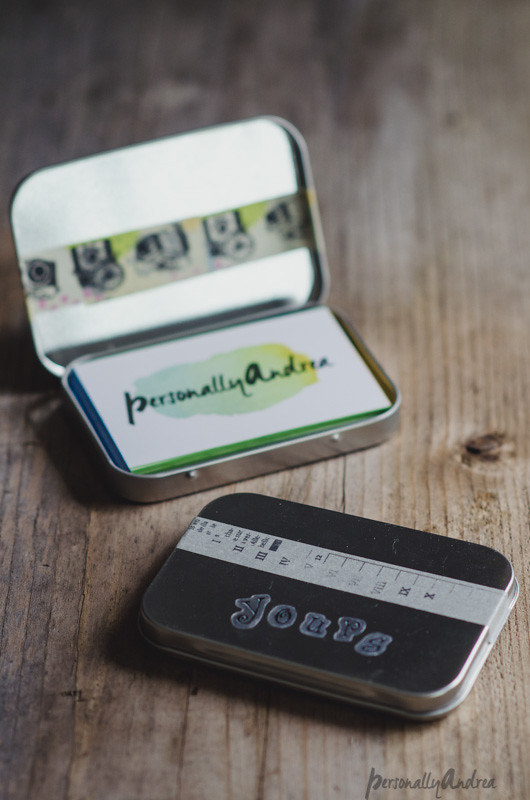
And so I made up for the crazy ridiculous colouring each edge of the cards with a super easy little tin case to carry them in with just a strip of washi tape and some lettering stickers.
so they don’t get scattered at the bottom of my bag
Sources:
Business cards ordered from MOO. This week they’re having a 25% off sale on business cards and other printed products.
Tin boxes from Creative Bag. You can also order online from them. The tins are sized for gifting gift cards, which is a nice way to present them. But always think about how a container can be repurposed, like these tin flowerpots for packaging soaps.
Sharpies, washi tape and letter stickers from Michael’s. Make sure you have the Michael’s app downloaded to your phone and never get caught without your coupons again!
***
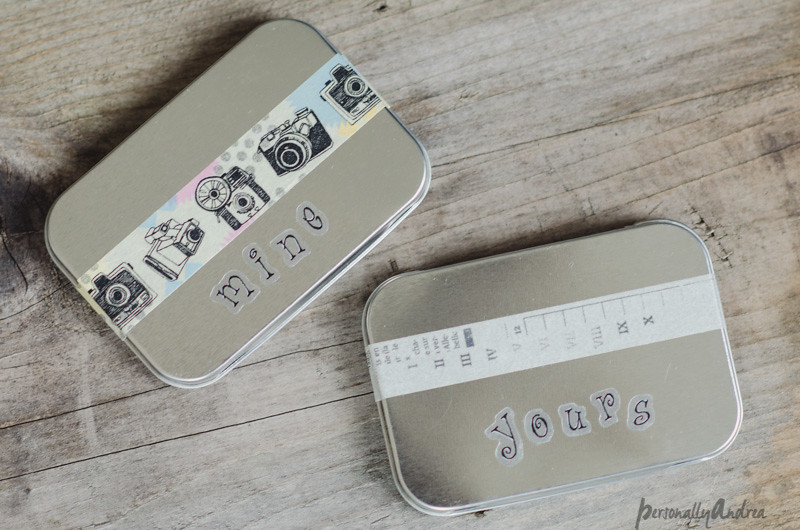
That washi tape. It was made just for me, how was I living without it before? I bought three rolls. And I used a tiny bit to decorate my little carrying case. But hey don’t feel left out…I made a carrying case for yours too, with different tape.
mine and yours
And that’s how I usually make things. Not by re-inventing the wheel, but by taking an existing item and just adding my own personal touch. If you’re intimidated by creativity or just don’t have the time, you can do it too. Buy a card and colour the edges. Buy a box and decorate it with pretty tape. Buy something from IKEA and add some ribbon and buttons like I did with these vases. Make it personal. If you check out the Handmade tab at the top of the page you’ll see that most of what I “make” follows that same theory. Personally I think it’s important to exercise your creativity from time to time, but it doesn’t have to be hard.
that was easy
How about you? How do you exercise your creativity? Or do you even think it’s important? Don’t think you have time? Share your ideas! And share your business cards…I made a cute place to keep them.

Sharing is lovely...

