Let’s talk about you…
Let’s talk about your photography. What kind of camera do you use… Phone camera? DSLR? What kind of stuff do you take pictures of… Your dog and your cat? Your family? Your garden? Your trips? Hey, guess what… me too! Do you wanna learn a few tips and tricks to take better pictures? Then let’s hang out together. There’s always always always something new to learn about photography, and that’s part of the reason I love it. So I’ll share some of the stuff I know with you and hopefully as we go along we’ll all get a bit better at it. We’ll make a series called……how to take this photograph
Soooo… let’s get our cameras out and practice. Are you with me? We’ll start with using a DSLR….here we go.
i took this one with my phone
Subject:
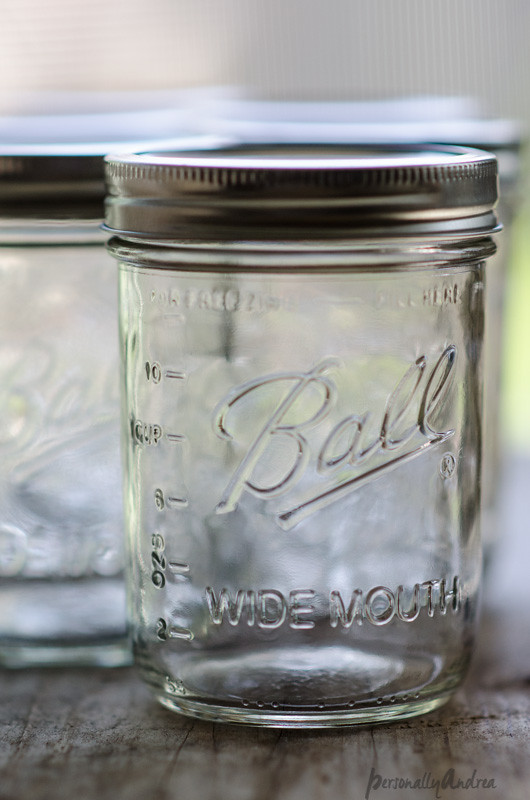
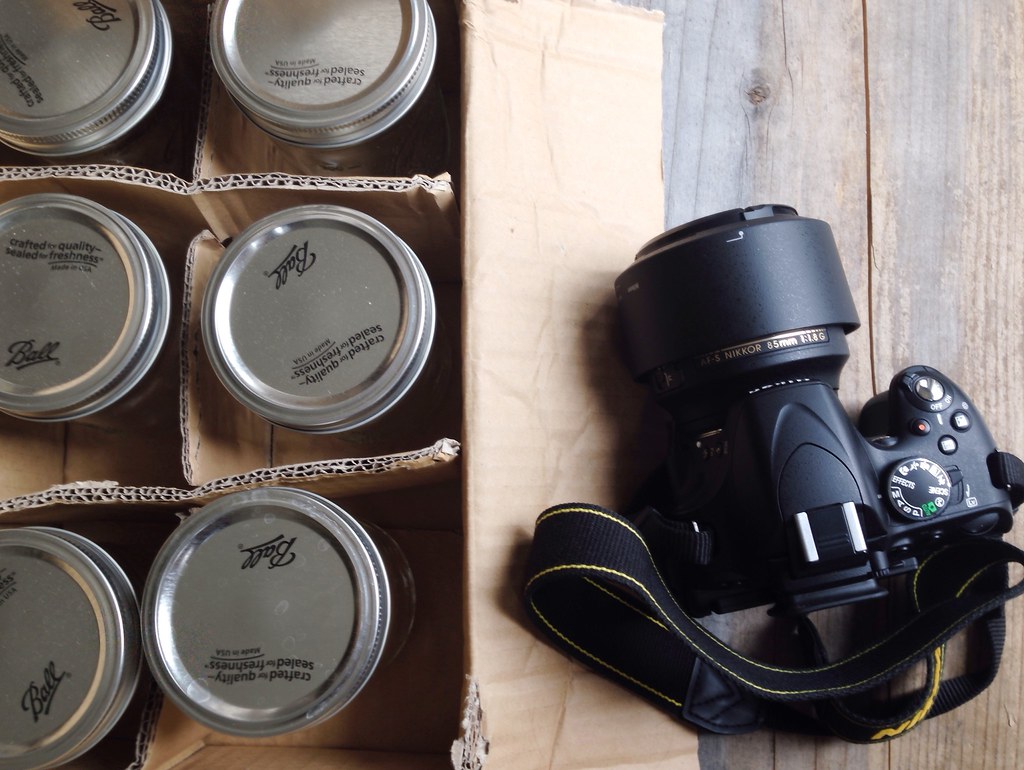
For this first one I picked something basic that a lot of crafters, pinterest-ers, and bloggers will relate to: the humble mason jar. If you haven’t yet made some kind of lighting that includes a mason jar, you’re behind the times…just sayin’. Quick. Run and throw a tealight into an old jam jar if you need to…I’ll wait… Personally I have boxes or mason jars in multiple sizes and use them all the time. For jam, for leftover soup, keeping homemade granola, for gifts, for organizing craft supplies…
#masonjarproblems
But even if you’re not a fan of mason jars, there are also tricks here to isolating a single item in a frame, and to showing off glassware, setting up and editing photos…so stick with me and read on…
Set-Up:
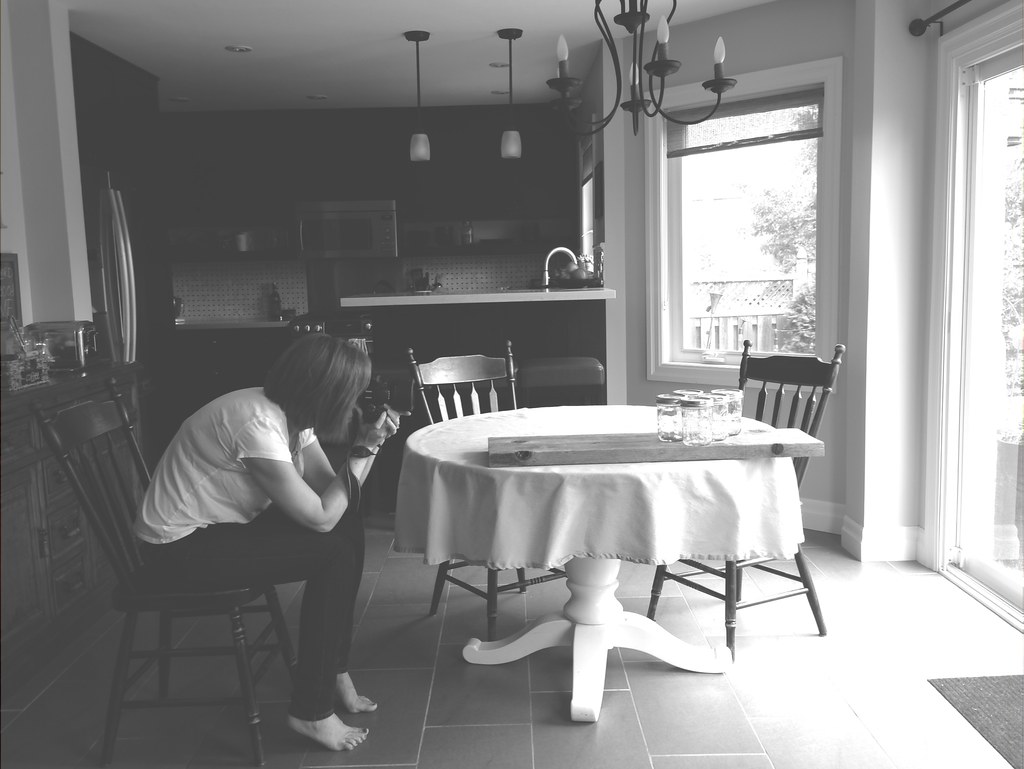
For this shot I used a distressed old fence board as a base so that the texture would contrast with the glass and highlight it. I’m shooting indoors. The set-up is about four feet away from a sunny window, and I’m positioned about three feet on the opposite side, so that the glass is backlit. I set up a few more jars randomly behind it to show that this is one of a larger set of jars. I framed the shot to show one full jar with just a partial view of the jars behind it. The jar in front is a bit off-centre because off-centre is more interesting than centred. There’s a good universal photography tip. I’m sitting down so the jars are at eye-level to the camera, and I have my elbows propped on my knees to help keep the camera steady. My focus point is on the raised lettering on the face of the jar.
blogger at work :)
Settings:
My camera is a Nikon, so if your camera is another brand the screen will look different but will have the same information. I’m using an 85mm fixed lens, which is my current favourite.
side note on lenses…
Whenever you’re feeling like your camera is not doing what you want, always look to buying a new lens before buying a completely new camera. The lens’s capability will probably do a lot more for you than a new camera body, unless it’s actually broken. And if you’re not sure what lens to buy next, you can rent lenses from the camera stores for a day, a weekend or a week. So try before you buy!
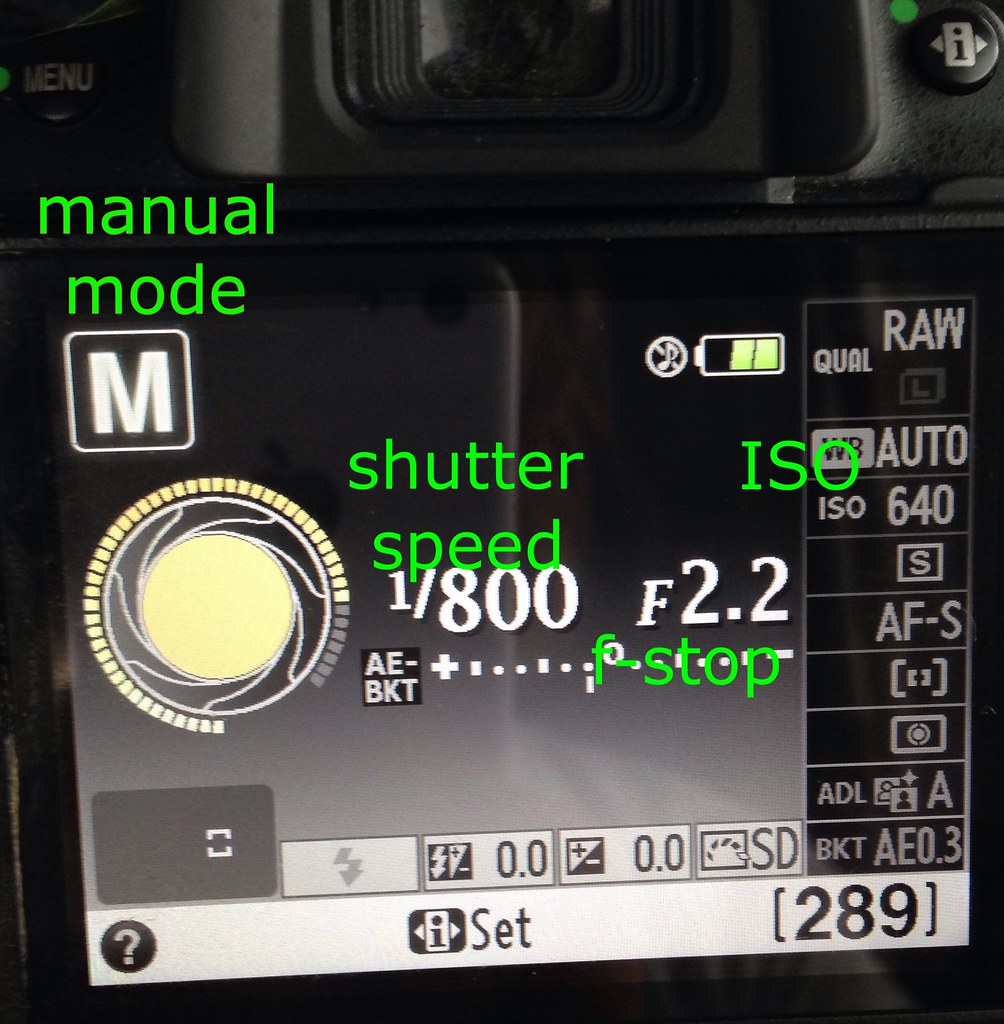
Back to settings… My dial is set to M (manual). I almost always set the aperture or f-stop first, for this one it’s at 2.2. The ISO is at 640 because it was actually a little dark in the room at the time, making it dark on the shadow side of the glass where I was focussing. The shutter speed is 1/800. Definitely fast enough that I can shoot hand-held.
*SNAP*
Always take at least three shots, then take a few more. Adjust your shutter speed…a little faster…a little slower…then try a different aperture (or f-stop). Take both landscape and portrait orientation. Then you’ll have a good variety of choice when you need to choose your final image.
Edit:
I chose a portrait style photo as the image to work with, and I always shoot crooked with portrait. So in Lightroom I used the crop tool with the grid to straighten the photo slightly, using the jar lid as my “straight line”. I increased the exposure just slightly +.12 to lighten the picture, and increased the clarity +33 so the detail on the glass would be super-sharp. These are just personal subjective choices…no real rhyme or reason. I’m just trying to come up with a final image that looks like the idea I had in my head at the beginning.
editing in lightroom
So that’s it…
Now over to you. Did you learn something new? What are your challenges with photographing glass? And most importantly… what kind of lighting have you made with a mason jar??? Let me know in the comments below. And go ahead….find an empty jar, glass or vase and use your camera to take a photo. See if you can end up with the result you wanted, and hopefully some of these tips will help you!What kind of subject should we tackle next time? (Make sure you’re signed up to receive new posts in your email inbox and never miss any of the awesomeness!)


