I love to create my own labels for pretty much everything… for personalizing my spaces, organizing, and especially for gift-giving. I created a personalized hand-stamped label for a new notebook, and shared a few of my tips for handmade labelling so that you can be passionate about it too.
***

* hand-stamped notebook label *
Hey there bloggy friends! I hope you’ve all had some chances to enjoy some gorgeous fall weather! It’s been a good one so far here in southern Ontario, and I think the best of fall colours is yet to come. I’ve been out a few times to scout out locations for portrait photography. It’s one of my favourite seasons for photographing families!
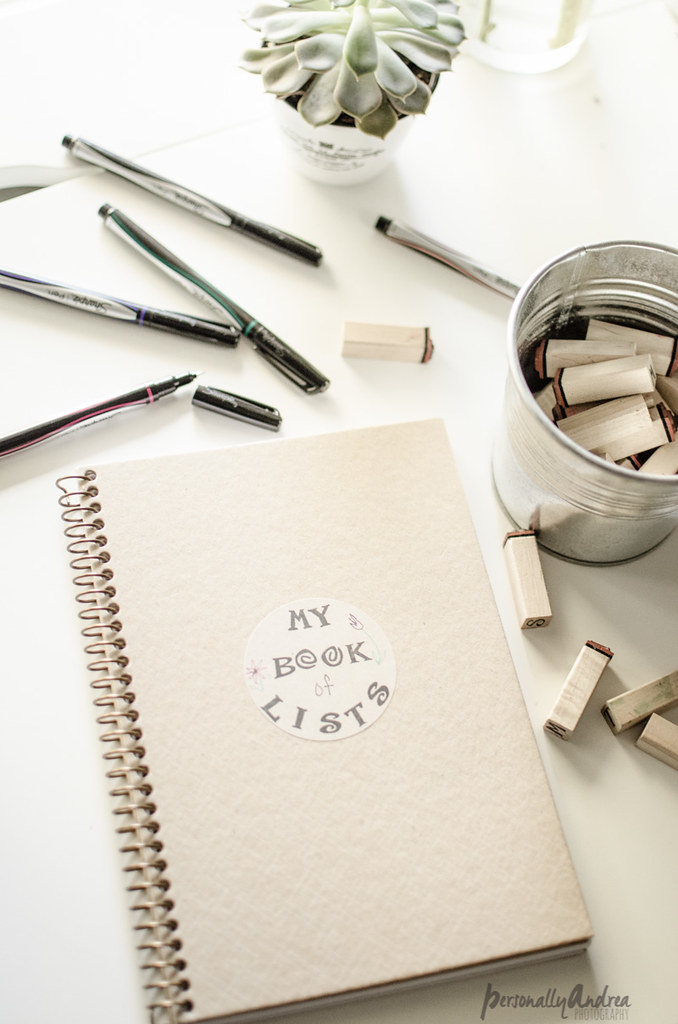
But today I just want to share some quick tips about hand-lettered labels, since I just bought myself a new notebook for using at my new desk. Read all about that if you missed it ----> here. Anyways, the notebook is pretty plain which gave me the opportunity to add my own personal touch.
* you got this *
I love these kraft paper circular sticker labels, and you’ll definitely see me using them again for packaging once gift-giving season arrives. But for now they seemed perfect for adding to the cover of this simple cardboard covered notebook. By the way, are you a manic list maker like I am?! I feel like my life would come to a screeching halt if I didn’t constantly have a to-do list nearby… #scatterbrained
So while this isn’t rocket science, I know that some of you avoid these kinds of pretty little projects because you think your handwriting’s not good enough, or you’re not artistic. To which I say You Got This. I promise you this is do-able.
Here are my tips for a handmade label:
1. Stock up on pretty supplies
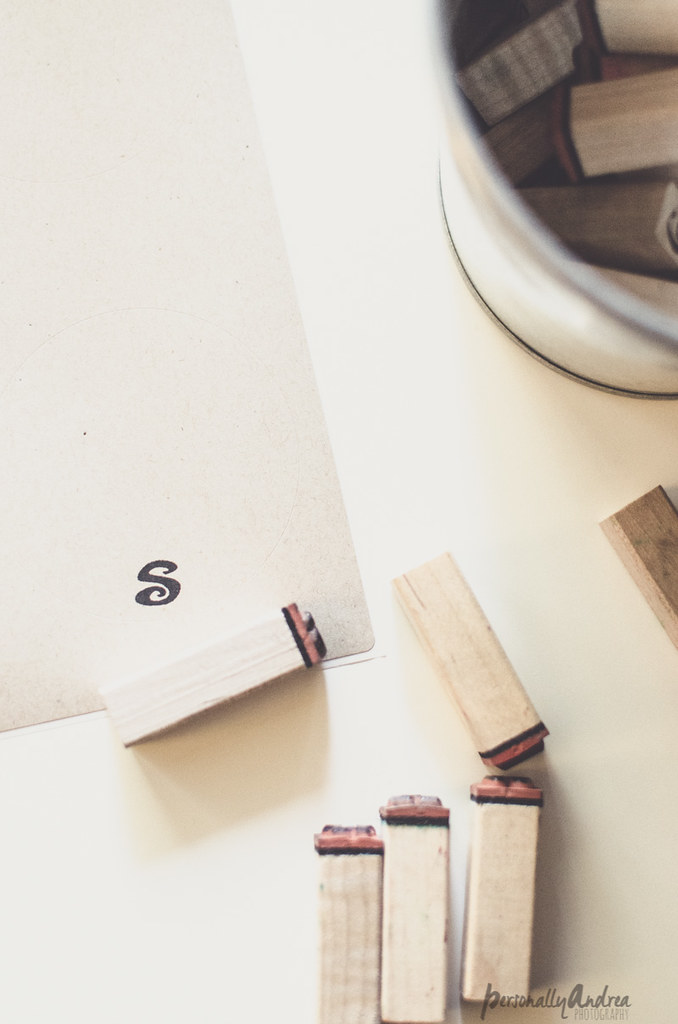
* kraft sticker labels & alphabet stamps *
I’ll even give you a shopping list! If you have at least these things on hand, labels can quickly be created for any reason whenever the whim strikes.
Various sticker labels. I like these, and these. And obviously anything Martha Stewart is beautiful too.
A set of alphabet stamps and a black ink pad. (Used for this project.)
Several sheets of alphabet stickers.
A fine tip black Sharpie marker. (Also used for this project.)
A spool of jute twine or bakery twine (for attaching tags).
That will give you a great starter kit. Before you know it you’ll be decorating up your notebooks, jam jars and storage bins too.
2. Make the label before you attach it

* pin me *
Right? Because then if you mess it up or change your mind, you can start over with a new label and not worry about removing one that you already attached. Don’t do that.
3. Start in the middle of the word
Seriously, this is important…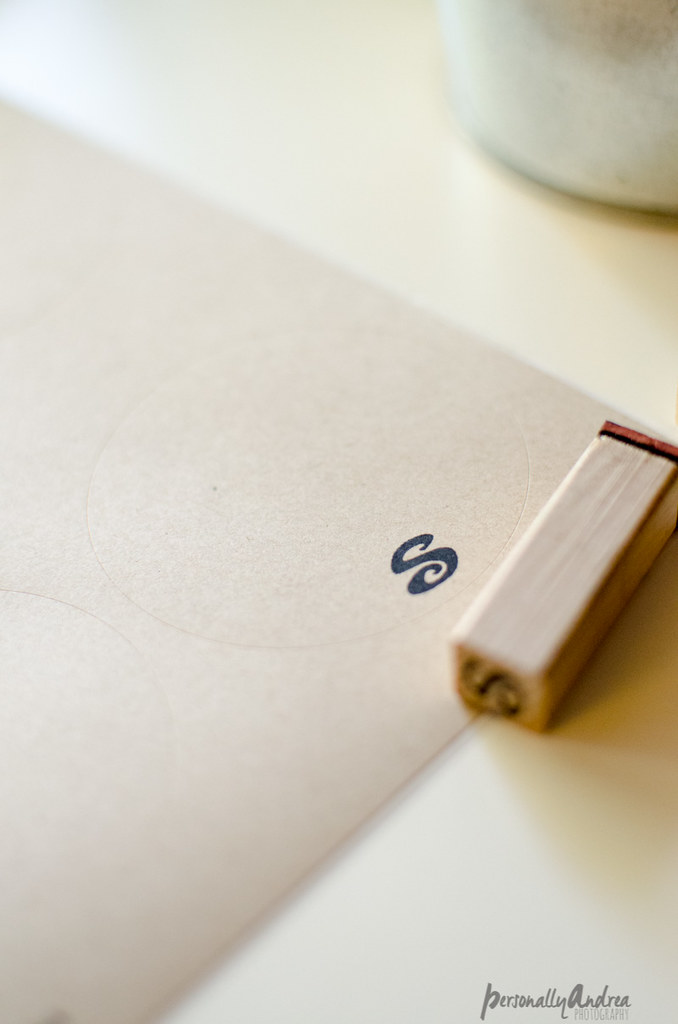
* middle of the word “lists” *
It might sound weird, but this is my best tip. The absolute worst thing when writing onto a label is to run out of space before the end of the word. #absolute #worst Whenever I do any decorative lettering I start in the middle. Find the middle letter of the longest word, and write forwards and backwards from there. Trust me on this one.

* then add the word “book”… o’s first *
4. Use computer fonts
I wrote a whole post about this ---> here. For the word “of” here I used Simply Glamorous, also one of the fonts I use on this blog. If you’re looking for gorgeous fonts to install, I have a Pinterest board full of free fonts. It’s your lucky day!
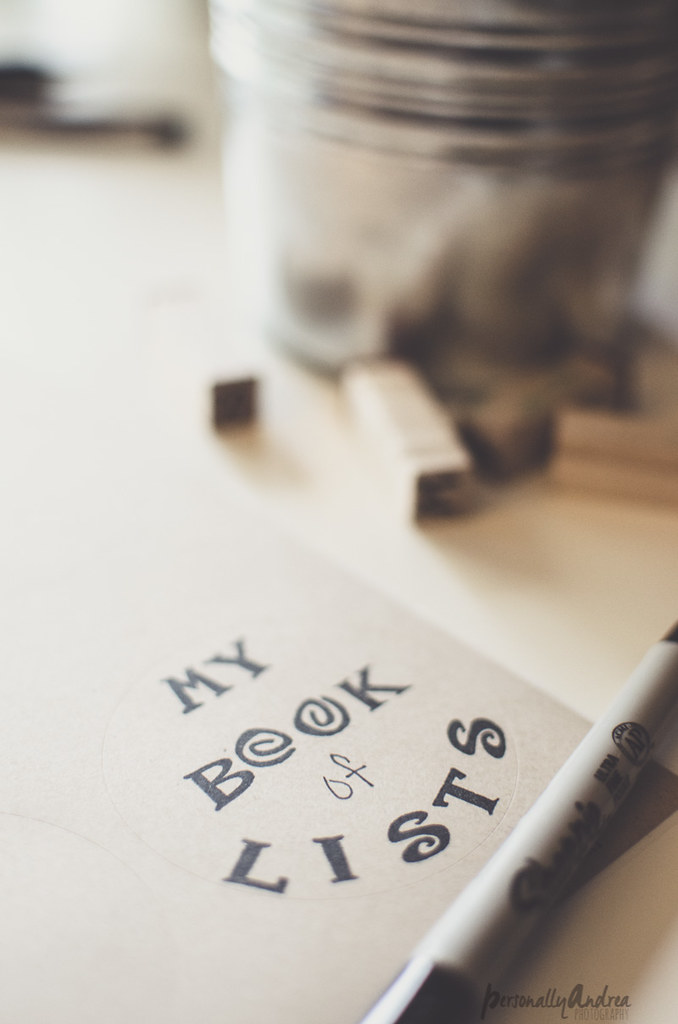
* add the word “of” with a fine tip sharpie *
5. Embrace the imperfection
When a computer printout is a little off centre or smudged or too faint, it just looks messy. The beautiful thing about something handmade is that a little imperfection adds to the charm. This coming from a fairly type A personality… so you know it’s true. #actuallyquite #orextremely

* cute, right? *
So there you go. Buy yourself (or someone else) a little notebook and add your own personal labelled touch. An easy little project to put a smile on your face every time you see it :)
More projects with stamped labels:
Thanks for hanging out with me! Have a great week,
More projects with stamped labels:
Thanks for hanging out with me! Have a great week,


Sharing is lovely...

