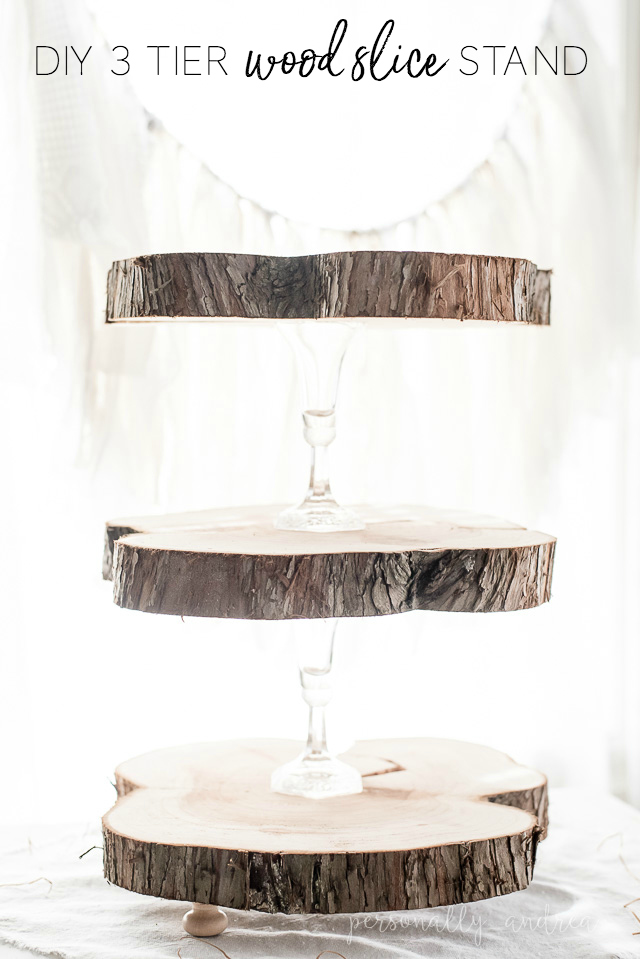
How to make a rustic three tier stand with reclaimed wood slices and glass candlesticks.
Hello, and welcome to the second instalment of There For the Making | Zero Dollar DIY Challenge. If you weren’t here for the first post in the series, don’t forget to check back to see how I made a framed monogram chalkboard from supplies around the house. All the bloggers on this challenge came up with amazing projects, and I can’t wait to see more. Thanks again to Sarah at Flourish & Knot for organizing and hosting us!
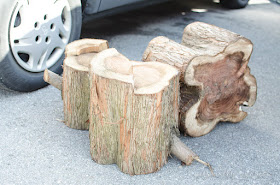
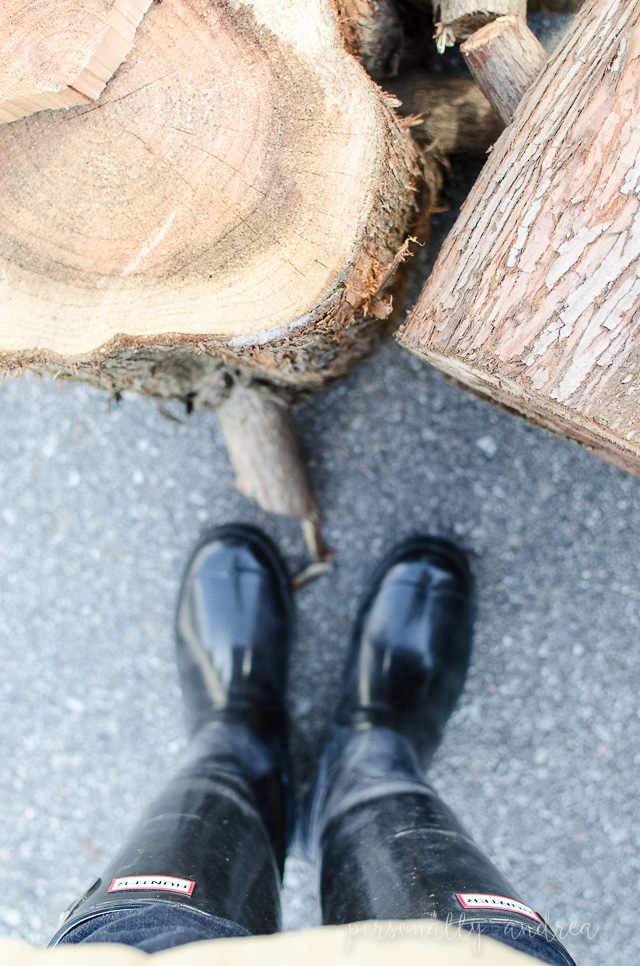
This month we were challenged to incorporate something to honour Earth Day, which is happening here in Canada on April 22nd, and I knew exactly what I needed to do! Here’s why… two years ago I had salvaged a couple of sections of tree trunk which had been left at the side of the road. As one does, right? Sometimes trees need to be taken down in the suburbs for safety reasons or because of disease, buy why not salvage what we can and use it to create something beautiful? To me that's part of what Earth Day is all about.
Anyways, on Earth Day that year I took the stumps to Woodchuckers, a woodturning supply warehouse here in the city, to have the logs cut into slices on their industrial saws.
Now two years later, I finally pulled a few of them out from under my worktable and made them into a rustic three tier wood slice stand, just in time for Earth Day again. My first motivation was this challenge. The second was to create a decor piece for this Rustic Romantic Bridal Shower, where I used the stand to display some mini cheesecakes on the food table.
How to make a Three Tier Wood Slice Stand:
Materials:
1. Three wood slices.2. Two pretty glass candlesticks (or vases?) which I kept in a cabinet with other glassware, but rarely, if ever, used.
3. Three wooden cabinet knobs. (I have a large selection of cast-off hardware since I immediately change the knobs on all furniture that comes into the house. Truth.)
4. Not shown, a small tube of E6000 epoxy glue.
Instructions:
Although I had taken the slices to be sawn professionally, it was a pretty rough cut, and back home I used a palm sander to smooth each of the surfaces. You can see the difference it made. You can also see that after the slices had been left to dry for many months, they are split in a few places. There are ways to repair the split with a filler or a butterfly joint, but I decided to embrace the raw and rustic look and leave the splits as they were.
Next I set up the wood slices and candlesticks as I envisioned the completed stand would look, centring the candlesticks as well as I could. I marked the placement of the candlesticks lightly with a pencil.
One surface at a time, I put a careful ring of E6000 around one surface of a candlestick and placed it within my pencil markings on the wood slice. I left time for it to dry then went on to adhere the next section of glass to wood until it was all glued together. Lastly, I turned the whole piece upside down and glued the three knobs to the bottom as feet.
I was happy to finally make use of the beautiful wood slices, and to find a more interesting way to have the candlesticks be used and displayed. With the raw wood against the pretty glass, it makes a statement just on it’s own, but is great for setting out food at a party, or for decorating seasonally in your home. How would you use a piece like this?
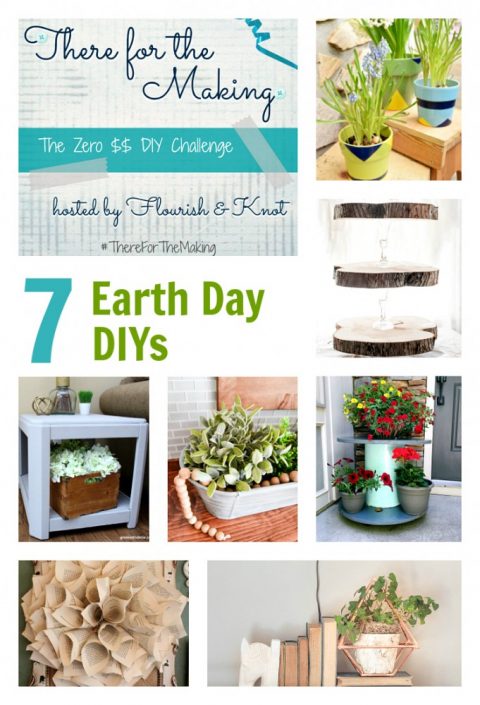
Now, as with the last Zero Dollar Challenge, don’t forget to check out all the other blogger projects, to see what they came up with for our Earth Day theme. All the clickable links are below the collage. Happy reading!
There for the Making: Earth Day Edition!
Personally Andrea | Rustic Three-Tier Wood Slice Stand (you are here!)


